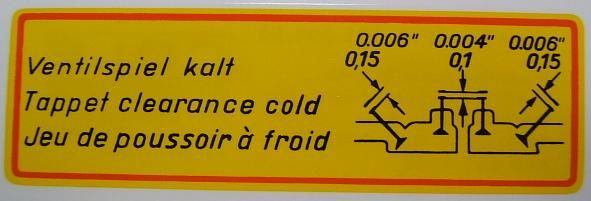
Back when these cars were made, the Factory applied decals to various parts using the water transfer process. The result is a thinner, more delicate decal than modern adhesive backed stickers.
Note: Here is an excellent Youtube video on how to install water transfer decals on a smaller scale, but still appropriate:
1. Preparation:
- Surface: Ensure the surface is clean, smooth, and free of any debris or imperfections.
- Tools: Gather the following: tweezers, a clean bowl of water (room temperature is fine), paper towels, a soft brush, and optional decal setting solution or softener (like Micro Set or Solvaset).
- Decal: Cut out the decal from the sheet as close to the image as possible.
2. Soaking and Preparation:
- Soak: Submerge the decal in warm water for a few seconds (the time varies depending on the decal brand).
- Check: Gently check the decal by lightly pressing your thumbs underneath and sliding it. If it slides easily, it's ready.
- Position: Place the decal on a paper towel to drain excess water.
3. Application:
-
Apply Setting Solution (Optional):If using a setting solution, apply a small amount to the area where you want to place the decal.
-
Slide and Position:Carefully slide the decal off the backing paper and onto the surface, using tweezers or a brush to guide it.
-
Remove Excess Water:Use a paper towel or soft brush to gently dab away any excess water or setting solution.
-
Smooth Out:Use a damp Q-tip or soft tissue to gently smooth out any wrinkles or air bubbles, working from the center to the edges.
4. Setting and Sealing:
-
Setting Solution (Optional):If you used a setting solution, apply another layer to the decal and let it dry according to the product instructions.
-
Drying:Allow the decal to dry completely (usually 24 hours) before applying a final coat of clear gloss or varnish.
Tips for Success:
-
Patience is key:Take your time and work carefully, especially when positioning the decal.
-
Practice:If you're new to applying waterslide decals, practice on a spare surface first.
-
Don't overdo it:Avoid applying too much setting solution or water, as this can cause the decal to wrinkle or shift.
-
Sealing:Sealing the decals with a clear coat will help protect them from damage and fading.


